There’s something deeply satisfying about hearing that pop of a sealing jar — the tiny sound that means your hard work and fresh ingredients are safely preserved for months to come.
Canning is one of those timeless homestead traditions that bridges generations. It’s part science, part art, and part heart. Whether you’re tucking away the last of your summer tomatoes, turning peaches into jam, or putting up homemade pickles for winter soups, canning allows you to enjoy your harvest long after the garden has gone to sleep.
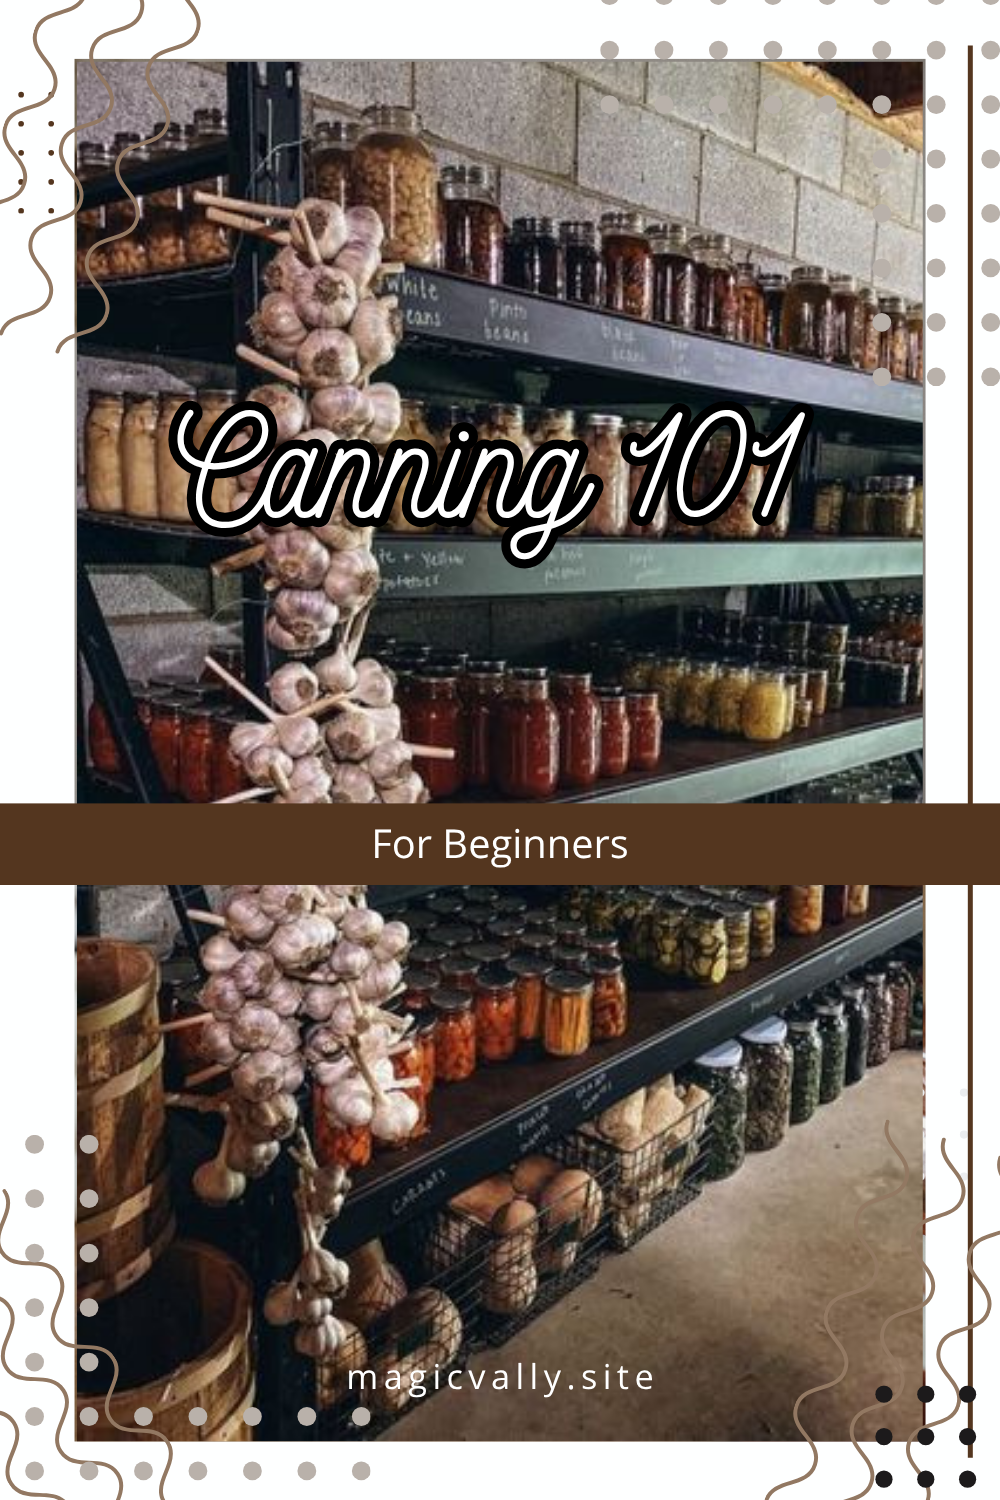
If you’re new to home canning (or just looking to level up your setup), this guide will walk you through my top recommendations for safe, successful, and stress-free canning — from equipment must-haves to simple best practices that make all the difference. 🌿
🌸 Why Canning Matters
Canning isn’t just about saving food — it’s about self-reliance, sustainability, and simplicity. It allows you to:
- Reduce food waste
- Save money by preserving seasonal produce
- Control what goes into your food (no hidden preservatives or additives)
- Stock your pantry with nutritious, homemade meals year-round
There’s also something soulful about it — rows of shining jars lined up on a shelf, each one holding a little piece of summer. That’s homesteading magic at its finest.
🧺 1. Choose the Right Canning Method
The first (and most important) step is understanding which canning method to use for the type of food you’re preserving. Using the wrong one can lead to spoilage or unsafe food.
Here’s the golden rule:
| Food Type | Canning Method | Why It Matters |
|---|---|---|
| High-acid foods (fruits, jams, pickles, tomatoes with added acid) | Water bath canning | Acidity prevents bacteria growth, so boiling water temperatures are sufficient. |
| Low-acid foods (vegetables, meats, soups, beans, stews) | Pressure canning | These foods need higher temperatures (240°F+) to safely destroy botulism spores. |
If you’re just starting out, water bath canning is an easy and beginner-friendly place to begin. Once you feel confident, you can move up to pressure canning for more variety.
2. Invest in Reliable Equipment
Quality tools make all the difference when it comes to safe and easy canning. You don’t need fancy gadgets — just a few key items that will last for years.
🫙 Essential Canning Tools
- Canner:
- For water bath canning, you’ll need a large pot with a rack to hold jars off the bottom.
- For pressure canning, invest in a trusted model like the All American or Presto canners. They last decades if properly cared for.
- Canning jars:
- Use Mason jars (Ball or Kerr brands are dependable).
- Check for chips or cracks before every use — even tiny imperfections can cause sealing failures.
- Lids and bands:
- Always use new lids each time you can, but bands can be reused if rust-free.
- Store them in a dry place to prevent corrosion.
- Jar lifter:
Safely removes hot jars from boiling water — an absolute must-have. - Funnel:
Helps you fill jars neatly and prevents spills (and sticky messes). - Clean cloths and vinegar:
Wipe jar rims with vinegar before sealing — it ensures a perfect seal and removes residue from sticky fruits or pickling brine.
Optional but helpful:
- Magnetic lid lifter
- Timer
- Labels for easy tracking (and aesthetic pantry goals 😍)
🧄 3. Follow Tested Recipes
Canning is not the time for guesswork or “eyeballing” — safe canning depends on precise recipes that have been tested for proper acidity, time, and temperature.
Trusted Sources for Canning Recipes:
- The Ball Blue Book Guide to Preserving – a classic, trusted for generations.
- Pinterest always has a ton of recipes online as well
When you follow these recipes, you’ll know your food is shelf-stable and safe to eat all year long.
🫛 4. Check Your Seals and Storage
A properly sealed jar is the difference between success and spoilage. After your jars have cooled for 12–24 hours, check the seals:
- The lid should be concave (slightly indented).
- When you press the center, it should not flex up or down.
- You can also gently lift the jar by the lid — if it’s sealed, it’ll hold.
If a jar didn’t seal, don’t panic! Just refrigerate it and use it within a week, or reprocess it within 24 hours.
Once sealed, label each jar with the contents and date, and store in a cool, dark, and dry place — ideally between 50–70°F.
Avoid storing near sunlight, stoves, or freezers — fluctuating temperatures can break seals over time.
🥒 5. Start Simple: Best Beginner Canning Recipes
If you’re new to canning, start with high-acid, low-risk recipes that are quick, delicious, and foolproof.
🫐 Easy Starter Projects:
- Strawberry or blueberry jam – sweet, fragrant, and easy to make.
- Pickled cucumbers or carrots – a crunchy classic that never fails.
- Applesauce or apple butter – perfect for fall harvests.
- Tomato sauce (with added lemon juice) – pantry staple for soups and pasta.
Each of these can be done using water bath canning — no pressure canner needed.
Once you’ve mastered those, you can try more adventurous recipes like salsa, soups, or canned meats.
🍑 6. Don’t Skip Headspace
Headspace — the gap between the food and the top of the jar — is more important than it looks. Too little, and your jar may leak or fail to seal. Too much, and it might trap air bubbles that cause spoilage.
The general rule:
| Food Type | Recommended Headspace |
|---|---|
| Jams, jellies | ¼ inch |
| Fruits, pickles, tomatoes | ½ inch |
| Vegetables, meats, soups (pressure canning) | 1 inch |
🌿 7. Keep It Clean
Good hygiene is key to safe canning.
- Always wash jars, lids, and bands with hot soapy water before use.
- Sterilize jars by boiling them for 5 minutes (if processing time is under 10 minutes).
- Wash produce thoroughly — even organic fruits and veggies can harbor bacteria.
- Keep work surfaces clean and avoid touching jar rims with your fingers.
Cleanliness helps prevent mold, yeast, and bacterial contamination.
🍅 8. Label Everything
You’ll thank yourself later! Always label your jars with:
- Contents (e.g., Spiced Apple Butter)
- Date canned
- Optional: Batch number or recipe name
Use labels or write directly on the lid with a Sharpie.
Proper labeling keeps your pantry organized and lets you rotate older jars first (the “first in, first out” method).
🌾 9. Be Mindful of Shelf Life
Most home-canned goods last 12–18 months if stored properly. After that, they’re usually still safe to eat, but the quality (flavor, texture, color) may decline.
If a jar shows any signs of spoilage — bulging lids, mold, cloudy liquid, or an off smell — do not taste it. Discard it safely.
Remember: when in doubt, throw it out.
🕊️ 10. Add a Personal Touch
One of the most beautiful things about home canning is that it connects creativity and practicality. Once you’ve mastered safe canning basics, you can personalize your jars with:
- Homemade labels or fabric covers
- Unique spice blends in pickles or chutneys
- Gift baskets for friends and family
Canned goods make heartfelt gifts — a jar of homemade jam says, I care enough to make this with my own two hands.
🌻 Bonus Tips from the Homestead
Here are a few extra tips I’ve learned through the seasons here at Magic Valley Homestead:
🌼 Keep a canning journal.
Record recipes, processing times, and how each batch turned out. It’s a great reference for next year’s harvest.
🌼 Use local produce whenever possible.
Freshly picked fruits and vegetables can make all the difference in flavor and nutrition. Check your local farmers markets and buy food that is “in season”. In season food is most of the time cheaper and will save you a few bucks.
🌼 Be patient.
Canning days can get long, especially when the kitchen is warm and full of jars — but it’s worth every minute when you open a jar of your own tomato soup in January.
🌼 Don’t be afraid to ask questions.
Canning is a community tradition — whether it’s your grandma, a local farmers’ market friend, or online homestead groups, everyone started somewhere!
💛 Wrapping It Up
Canning is more than just food preservation — it’s a lifestyle of simplicity, sustainability, and gratitude.
Each jar represents a season of work, care, and abundance — from garden to kitchen shelf. When you hear that satisfying ping of a sealing jar, you’re not just saving food. You’re saving a little piece of your homestead’s story.
Whether you’re a beginner or a seasoned preserver, I hope these recommendations inspire you to fill your pantry with the colors, flavors, and memories of your harvest.
So grab those jars, gather your produce, and make this the year you fill your shelves with homemade goodness — one seal at a time. 🫙🌿
Did you enjoy this post?
If so, check out our other homestead living articles on magically.site where we share tips on:
- Soap making
- Sustainable living
- DIY sugar scrubs
- Homemade cleaning recipes
- Seasonal homestead projects
Because the best kind of living is the kind you make yourself — simple, intentional, and full of love. 💛
